Installing a rearview camera system in your vehicle is one of the best ways to enhance safety, improve driving visibility, and avoid accidents. Whether you are parking, reversing, or maneuvering in tight spaces, a rearview camera helps you see what’s behind your car, reducing the risk of collisions.
While many new cars come with built-in rearview cameras, older vehicles can benefit from this technology too. If you’re looking to install a rearview camera system in your car, this guide will walk you through the steps. You’ll learn how to install it, what tools you need, and the benefits of having a rearview camera system in your vehicle.
Benefits of Installing a Rearview Camera System
Before diving into the installation process, let’s first explore why you should consider adding a rearview camera system to your vehicle.
-
Improved Safety: The most significant benefit is enhanced safety. A rearview camera helps eliminate blind spots, making it easier to spot pedestrians, other vehicles, and obstacles behind you.
-
Parking Assistance: The rearview camera system provides a clear view of the parking area, which helps in tight spots, parking garages, or parallel parking.
-
Reduced Risk of Accidents: By giving you better visibility of your surroundings, a rearview camera system can significantly reduce the chances of backing into objects, other vehicles, or even people.
-
Added Resale Value: Installing a rearview camera system can increase the resale value of your vehicle by modernizing it with new tech.
Now that you understand the benefits, let’s get into how to install it.
Tools You Will Need
Before starting the installation process, gather the following tools:
-
Rearview camera kit (includes camera, monitor, and wiring)
-
Screwdriver set
-
Power drill with bits (for making holes)
-
Electrical tape
-
Cable ties
-
Socket wrench set
-
Multimeter (optional, for checking power connections)
-
Wrenches for vehicle disassembly (optional)
You may also need to check whether your vehicle already has pre-wired connections for the camera and monitor. If not, you will need to run wires for the camera and monitor.
Step 1: Choose the Right Rearview Camera System
Before starting the installation, choose the right rearview camera system for your vehicle. There are several options available, including:
-
Wireless Systems: These systems connect the camera and monitor wirelessly, making the installation process easier. They are ideal for vehicles without pre-existing wiring.
-
Wired Systems: Wired systems offer a more stable connection and higher video quality. However, they may require you to run cables through the car, which can be more time-consuming.
Check the specifications of the system you choose to make sure it matches your vehicle’s requirements.
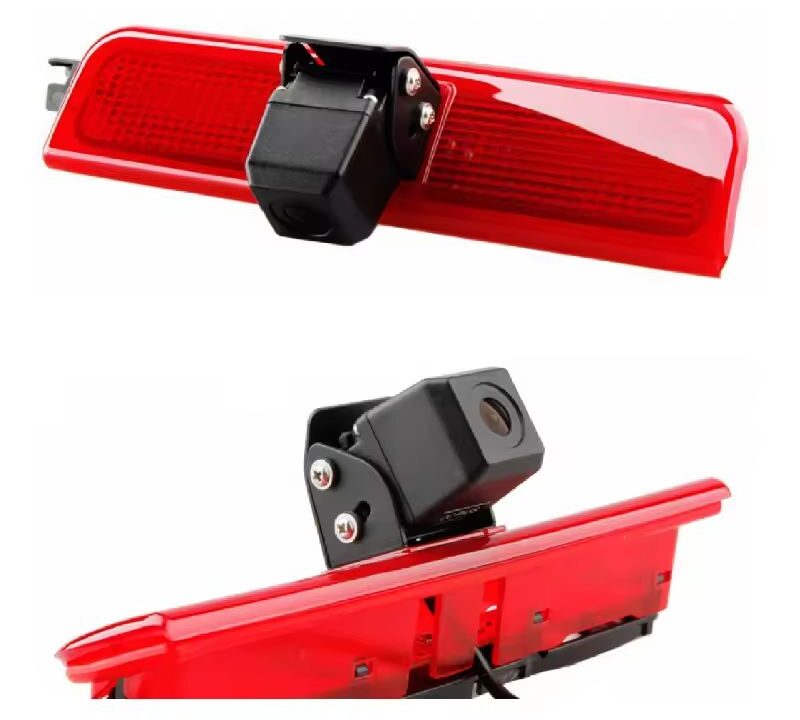
Step 2: Mount the Camera
-
Locate the Mounting Spot: The camera should be mounted near the center of the rear of the vehicle, usually near the license plate. This gives the best coverage of the area behind the car.
-
Drill Holes (If Needed): If your vehicle doesn’t have an existing camera mount, you’ll need to drill holes. Use a power drill to carefully drill the holes for mounting the camera.
-
Attach the Camera: Most rearview cameras come with a bracket for easy mounting. Place the camera bracket on the vehicle and screw it into place. Make sure the camera is positioned securely and faces downward for optimal visibility.
-
Connect the Camera’s Wiring: If you’re using a wired system, run the wiring from the camera to the vehicle’s interior. You may need to remove trim panels to hide the wiring for a cleaner look. Use electrical tape to secure the wires in place.
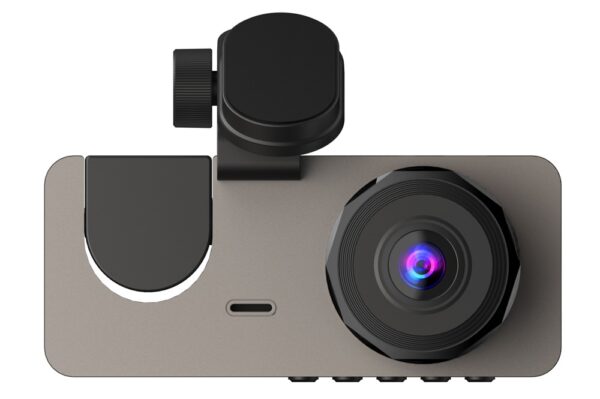
Step 3: Mount the Display Monitor
-
Choose the Monitor Location: The monitor can be mounted on the dashboard or clipped onto the rearview mirror. The location should be easily visible while driving.
-
Attach the Monitor: If you’re mounting the monitor on the dashboard, use the included bracket to securely mount it. If it clips onto the rearview mirror, follow the manufacturer’s instructions to ensure it’s attached properly.
-
Connect the Monitor Wiring: Run the wiring for the monitor from the camera to the interior of the vehicle. Use the same method as the camera wiring, ensuring it’s neatly hidden under trim panels.
-
Connect the Power Supply: The rearview camera system needs to be powered. Most systems will connect to the car’s reverse light, which powers the system when the car is in reverse. Locate the reverse light wire and tap into it using a wire tap or splice connector.
Step 4: Wire the System
-
Connect the Camera to the Power Source: Use the wiring provided with the rearview camera system to connect the camera to the reverse light’s power wire. You may need to strip the insulation from the wires and twist them together or use connectors for a secure connection.
-
Connect the Monitor to the Camera: Connect the monitor to the camera using the provided cable. The monitor should turn on automatically when the car is shifted into reverse.
-
Test the System: Before securing all the wires and reassembling the trim panels, test the camera and monitor. Shift the vehicle into reverse and ensure the monitor displays a clear image from the rear camera. If it doesn’t, double-check the wiring connections.
Step 5: Secure the Wiring
-
Hide the Wires: Once the system is working correctly, use cable ties or clips to secure the wiring along the trim panels and under the dashboard. Make sure no wires are hanging loose or in the way of the vehicle’s moving parts.
-
Reassemble the Trim Panels: Once the wiring is secured, reassemble any trim panels that were removed to run the wires.
-
Test the System Again: Once everything is in place, perform one final test of the rearview camera system. Shift into reverse to ensure the monitor turns on and displays the rear view.
Step 6: Fine-Tune the Camera
-
Adjust the Camera Angle: If necessary, adjust the camera angle for better visibility. Some rearview cameras come with adjustable mounts to make this process easier.
-
Check for Obstructions: Ensure that there are no objects blocking the camera’s view. The camera should have a clear line of sight to the area directly behind the vehicle.
-
Calibrate the Monitor: If your monitor has any brightness or contrast settings, adjust them to ensure the image is clear and easy to view.
Step 7: Enjoy Your New Rearview Camera System
Once you’ve completed the installation, take your car for a test drive. Test the rearview camera system in different lighting conditions to make sure the video quality is optimal. Enjoy the added safety and convenience of having a rearview camera system that helps you park, reverse, and drive with peace of mind.
Conclusion
Installing a rearview camera system in your vehicle is a straightforward process that enhances safety, improves visibility, and reduces the risk of accidents. By following these steps, you can install a rearview camera system in your car, whether it’s wired or wireless. The benefits are immense, and with some basic tools, you can upgrade your vehicle to modern safety standards.
Remember, always test the system before securing the wiring and trim panels to ensure everything is working properly. Once installed, you’ll enjoy a better driving experience and a significant boost in safety on the road.
Product Page:https://szdfpls.com/shop/
Please follow NanMa to ensure your driving safety!

